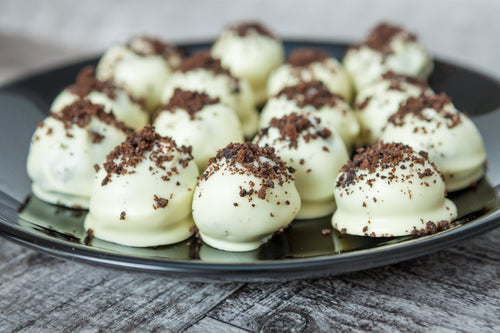
Learn how to make your own strawberry mochi by following LĒVO's infused homemade mochi ice cream recipe below!
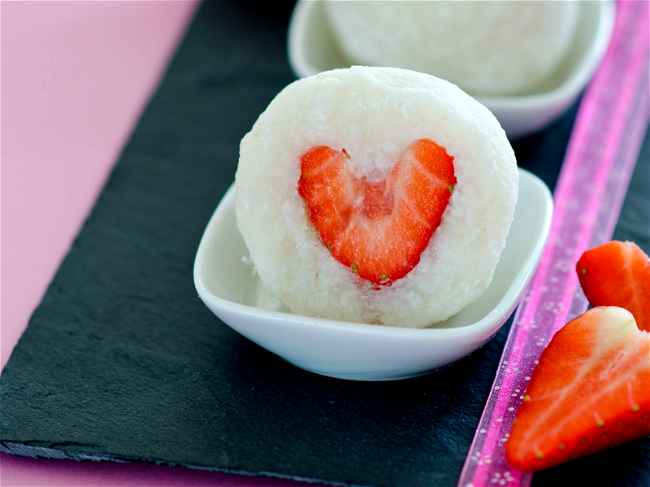
Infused Homemade Mochi Ice Cream Recipe
Rated 5 stars by 1 users
Category
Dessert
Servings
1 serving
Prep Time
30
Cook Time
6-12 hours
Author:
The Hawaiian Alchemist
Yes, it's possible to make your own mochi! Follow LĒVO's infused homemade mochi ice cream recipe.

Ingredients
- 1½ cups fresh strawberries, hulled*
- ¾ cup whole milk
- 2⁄3 cup granulated sugar pinch salt
- 1½ cups heavy cream
- 1½ teaspoons pure vanilla extract
- 2 oz Infused Vegetable Glycerin
- 7 grams of your flower of choice
- 3/4 cup sweet glutinous rice flour
- 1/4 cup sugar
- 3/4 cup water
- (Pink Food Coloring Optional)
- Potato starch, cornstarch, or additional rice flour, for dusting
Ingredients
Strawberry Ice Cream
Mochi
Directions
LEVO Prep
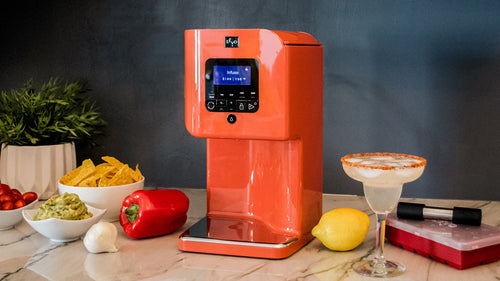
- Fill pod about 7 grams of your flower of choice. Hit the Activate cycle to start. Add 6 oz cup vegetable glycerin to LEVO reservoir.
- Set temperature to 190°F and time to 3 hours (180 minutes).
Instructions
- Put the strawberries into the bowl of a food processor fitted with the chopping blade. Pulse strawberries until rough/finely chopped (depending on preference). Reserve in bowl.
- When the ice cream balls are frozen solid, it’s time to make mochi. In your microwave. Whisk the flour and sugar together in a microwave-safe bowl. Add the water (and food coloring 10 drops, or if you are using gel, blend with the water for easier distribution among the mixture) and whisk to combine.
- Using a 3 or 3 1/2-inch cookie cutter to cut rings out of the mochi. Dust the excess starch off the circles with a pastry brush, then stack them on a plate, with a layer of parchment or plastic wrap between each sheet of rolled mochi. (Note: You can gather your scraps back together and re-roll to form additional circles, though they may be a bit tougher and therefore harder to work with later on as the mochi starts to further set.)
- Lay down a piece of parchment on your work surface, then use a fine-mesh sieve or sifter to cover it with potato starch/cornstarch/rice flour. Transfer the mochi to the parchment, sift over more starch, and cover loosely with plastic wrap and wait for it to cool down enough to handle.
- With a rolling pin, roll the mochi out to 1/4-inch thick. Applying more starch as needed to prevent it from sticking to your pin or board. Transfer the parchment to a baking sheet and refrigerate for about 10-15 minutes, until firm and cool to the touch, pending on how cold your fridge is. (Note: Don’t forget about them! If you do, microwave them again for 30 seconds till ply-able.)
- Cover the bowl with plastic wrap and microwave for 1 minute. Use a wet silicone spatula, stir the mixture, then re-cover and return to the microwave for 1 more minute. Stir again, cover, and microwave for 30 seconds. The color of your mochi should be translucent. If your mochi isn’t translucent, stir, cover, and microwave again for 30 seconds. Repeat this step till necessary.
- Working with one ice cream scoop at a time. Take a mochi circle, with the plastic wrap beneath it, place the ice cream on top of the mochi sheet, and move quickly to pull the sides of the mochi, wrapping the ice cream ball. Have all the ends meet and in a pinch and twist motion to seal up the ball. Transfer the mochi ball to the freezer, seal side down, repeat this procedure till you’ve worked through all the ice cream.
- Freeze the balls until frozen solid (6-12 hours). (Note: instead of using the plastic sheets, I found using gloves helps me work quicker to shape and seal this envelope of ice cream goodness.)
- Don’t forget to show us what you make with #LEVOmade.






Leave a comment
All comments are moderated before being published.
This site is protected by hCaptcha and the hCaptcha Privacy Policy and Terms of Service apply.